State of Survival is a complex mobile game, and it can be daunting for new players to get the hang of it. Half the fun is learning the ins and outs of the game, but if you want a leg up on your competition, follow some of these useful tips.
Tip 1
Always be building. You want your settlement to constantly be growing, so make sure your builders are always working on an active construction and are never inactive. This is especially important when you first start the game since buildings will only take a few hours to build. Additionally, purchasing the 2nd build slot at the start of the game ($4.99 USD at the time of writing) is the best investment you can make in the game. This will allow you to build twice as fast and you’ll thank yourself down the line when buildings take a week or more to build. Even if you don’t spend on anything else in the game, the 2nd build slot is by far the best value you can find on State of Survival.
Tip 2
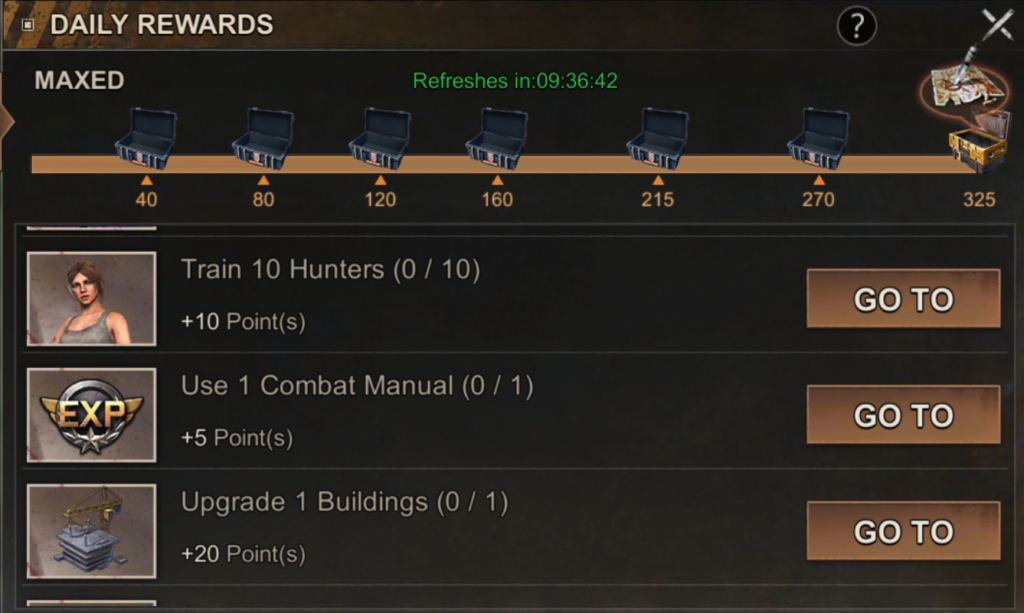
Complete your Daily Rewards and Growth Missions to earn biocaps, resources, search maps, speedups, experience, and more rewards. You should make it a goal to complete enough daily missions each day to earn 325 points and unlock the 7th reward crate. If you don’t complete your Daily Reward missions by the time the server resets (UTC 0), your missions will reset and you will have lost the previous day’s rewards crate.
Growth and Side Missions don’t expire, but you should focus on completing these as you are able to. These missions are the best way to earn Chief EXP to level up your Chief level, and they also give you other rewards (resources, skill books, etc.). Also, use these missions a guide on how to progress in the game if you ever get stuck and don’t know what to do next.
Tip 3
Save your Chief EXP. As you collect Chief EXP items, you may be tempted to use them immediately to increase your Chief’s level and gain talent points, but it’s better to save them to use during an event. Whenever you increase your Chief’s level to the next, your stamina will be completely refilled to 200. This valuable refill can help you get ahead in events that eat up your stamina like Infected Cleanup or Hunting the Hunter.
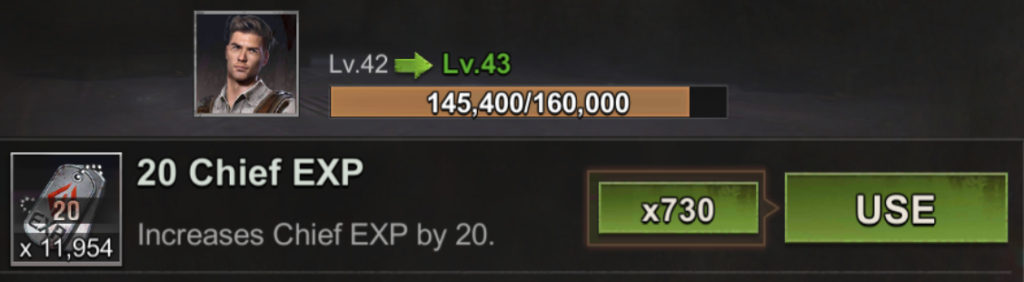
So even though you may have enough Chief EXP to increase your Chief level, wait until an event that uses stamina and get your stamina bar down as far as possible before increasing your Chief level. If you save enough Chief EXP, you can increase your Chief level multiple times throughout the event getting “free” stamina refills each time. Just be sure to drain your stamina before using this trick since you’ll only refill to your max stamina each time regardless of if you have 10 or 190 stamina left.
Tip 4
Use your free settlement buffs. You can access your settlement buffs by clicking on your HQ from your settlement and selecting Settlement Buffs, or by clicking on your settlement from the state map and selecting Settlement Buffs. You can activate a variety of buffs here (usually you will need to spend biocaps to get them). Everything from increasing resource gathering speed, to prevent enemy scouts with Recon Jammers, to shortening construction time. Many of these buffs will become more useful as you progress in the game, but early on there are 2 important buffs that you should become familiar with: Peace Flare and Random Relocator.
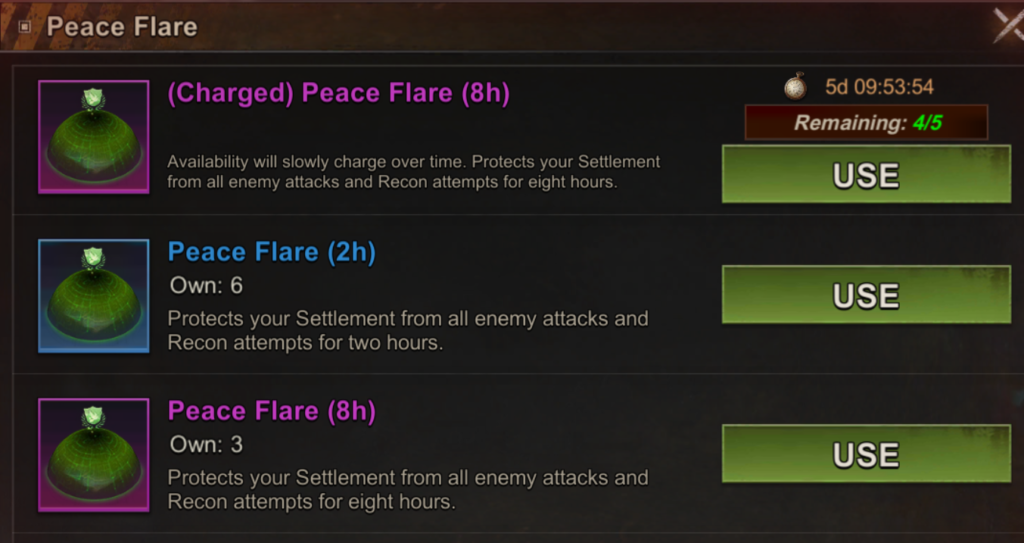
You should pay attention to these as a new player since you get free uses of these buffs that “charge” over time. You have a limited number of these buffs that will charge: 5 charged 8-hour Peace Flares and 10 charged Random Relocators.
Charged Peace Flares can be useful to protect your settlement if you are being targeted by a stronger player. You can also use them to protect your resources if you preparing for an upgrade but are worried about someone plundering your resources. Random Relocators are perfect for relocating around the map to attack other players during Kill Stage events or looking for resources to plunder. Just make sure you have an Advanced Relocator or Alliance Relocator so you can come back to your alliance.
Tip 5
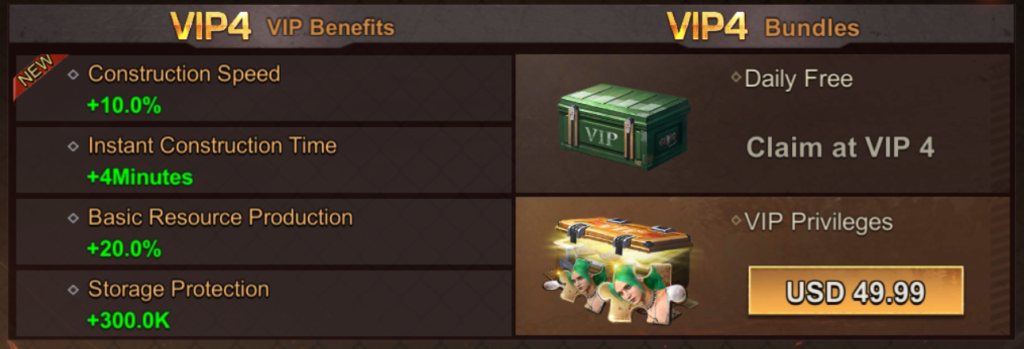
Focus on VIP 4. You’ll need to gain 12,500 VIP points to reach VIP level 4, and you should try to reach this level as soon as you can. VIP 4 gives you a 10% construction speed boost which will help you grow in the long run. Even if you use some biocaps to top off your VIP points to reach VIP 4, it’s worth it to get the 10% construction boost upfront, rather than using your biocaps later to finish off an important construction.
Tip 6
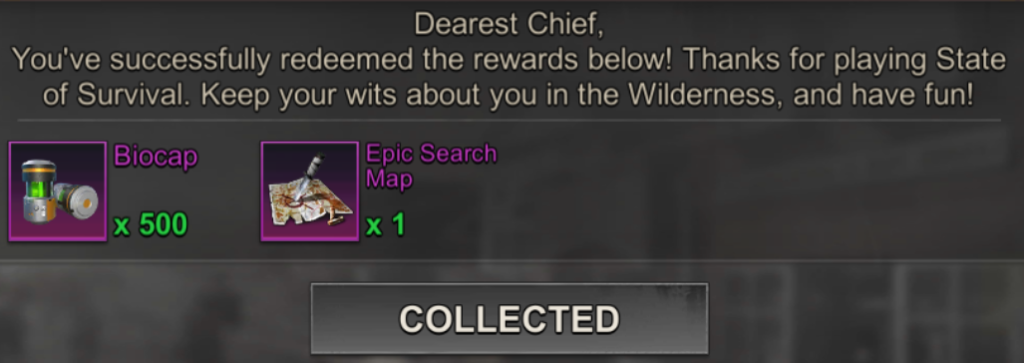
Redeem Gift Codes. The State of Survival team regularly releases gift codes that players can redeem for biocaps, search maps, and other rewards. These codes are usually active for a few days before expiring, so be sure to redeem them as soon as you can. For an updated list of SoS gift redemption codes, check here often.
Tip 7
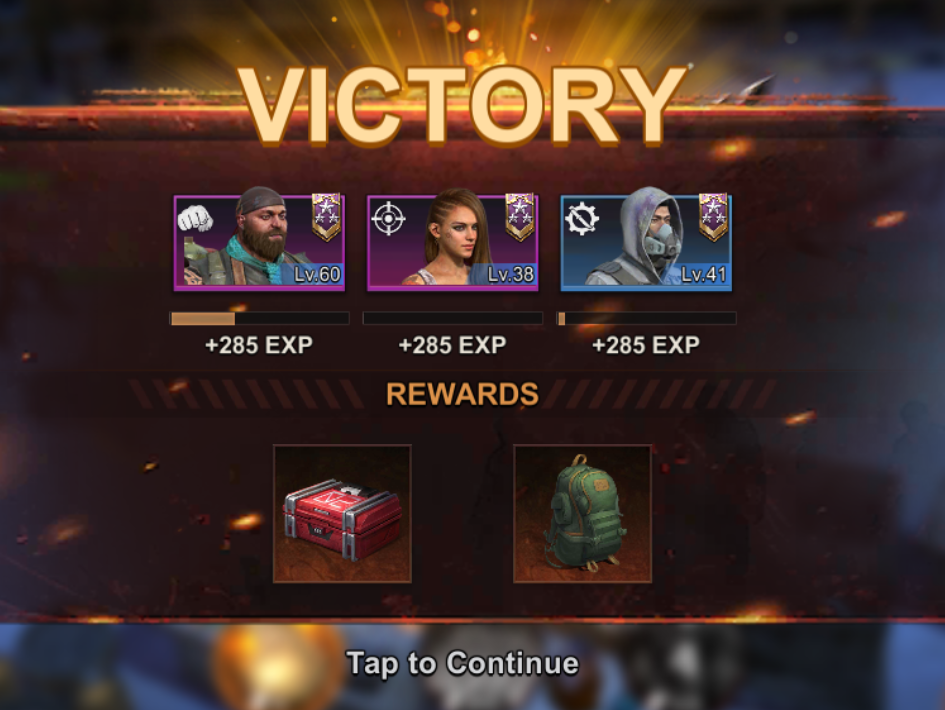
Farm Hero EXP in the Explorer Trail. As you progress through the Explorer Trails, you’ll reach a point where your heroes aren’t strong enough to continue new Trails. You can and should go back to easier trails that your heroes can easily beat and repeatedly challenge them to increase your hero experience. Use previously beaten challenges and select the heroes you want to level–ensure that the prediction is indicated as Walkover, so you’re likely to win.
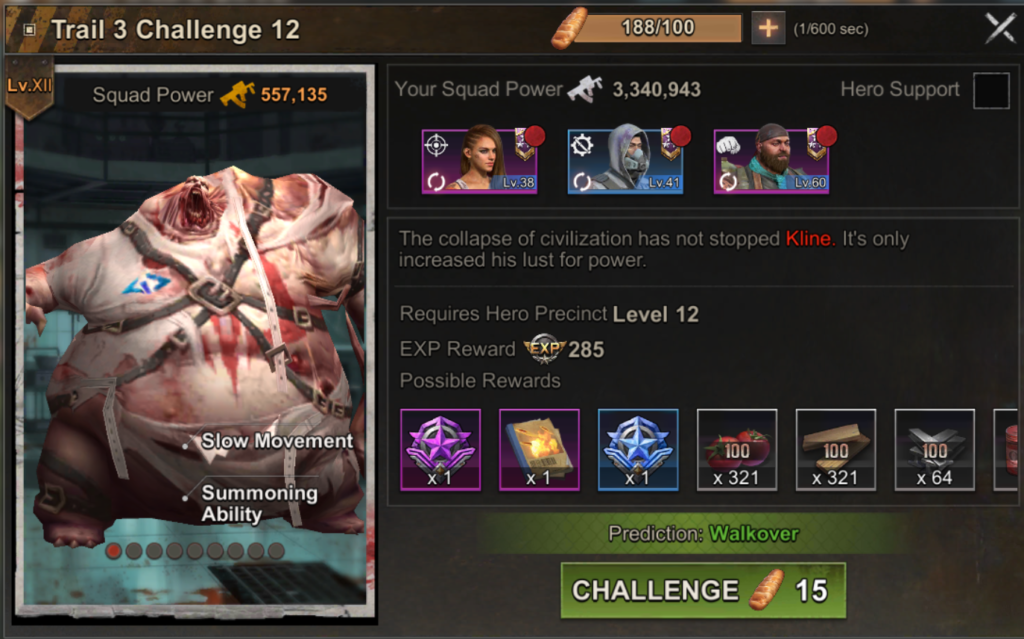
Though the EXP Reward may not be much for these trails, over time it will add up and help to level your heroes. If you focus on leveling just 3 heroes, you’ll be able to farm EXP via the Trail and level them up quickly.
Tip 8
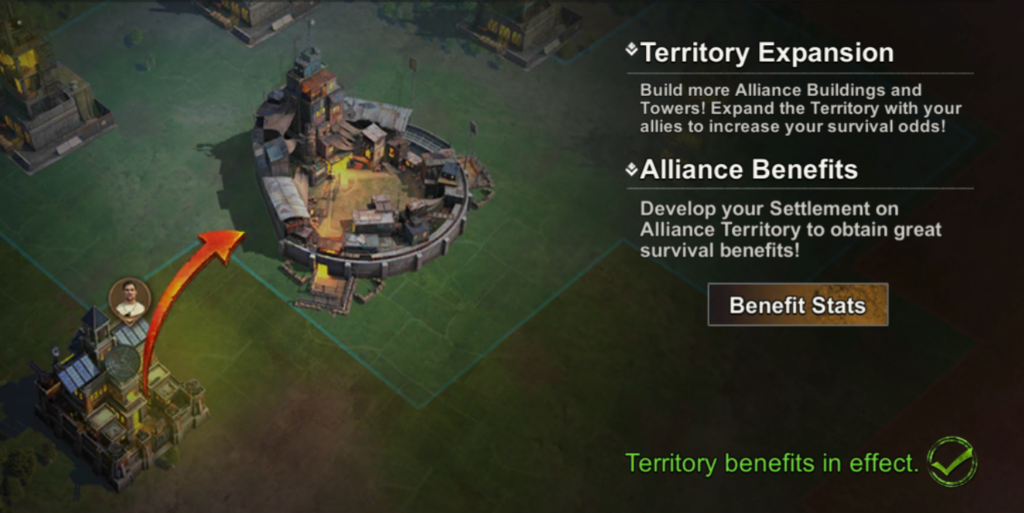
Keep your settlement inside your alliance territory. As soon as you are able to, teleport your settlement to be within your alliance territory border. Your alliance territory provides you benefits, but only when your settlement is located inside. These benefits include increased resource gathering speed and troop stat buffs. Be sure that your entire settlement is within the territory border since you won’t get the benefits if only half your settlement is inside your territory.
Tip 9
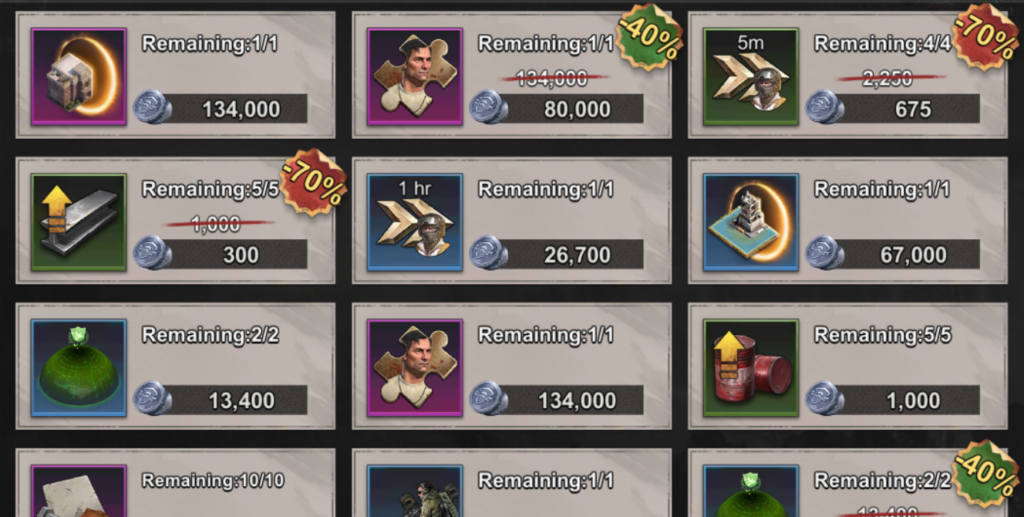
Check your alliance store for deals. Your alliance store contains items that you can purchase using alliance honor. The items in the alliance store are unique to you and refresh daily. While there are some items that are so useful you might consider paying full price (for example, advanced relocators), you’ll find many items listed at a 40% or 70% discount. Consider stocking up on fragments, speedups, and relocators that are on discount. And don’t forget to donate to your alliance’s technology research regularly and participate in building alliance towers so you can earn the honor needed to purchase these items.
Tip 10
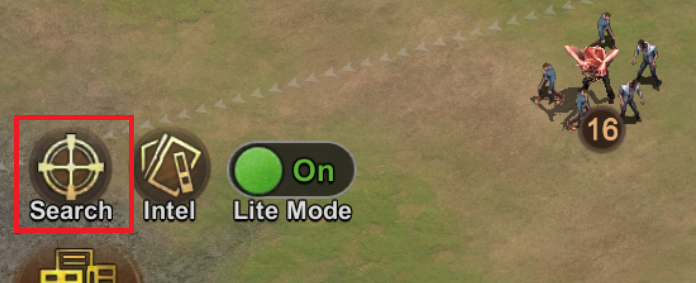
Use your map search to find what you need. Without a doubt, the quickest and easiest way to find open resource tiles, infected, and infected fiends is by using the search function. Instead of scrolling around the map looking for what you need, tap on the search icon and select what you’re looking for and specify the level. After hitting search, the map will center on the closest position of the tile to your settlement. If you’re not satisfied with the result for some reason (for example, another alliance member is already heading towards the tile), just tap search again and the map will find the next closest tile. Don’t waste time scrolling around the map when State of Survival has a built-in search function!